Setting up Multiple-Store
You can run more than one store using one interface from a single installation.
This enables you to host more than one front-end store on different domains and manage all admin operations from your single Administration panel. You can share catalog data between stores, have a product in more than one store for example, and your customers can login to all of your stores using the same credentials.
To set up several stores go to Configuration → Stores and click Add new.
This example describes the setup of two sample stores, as follows:
- www.store1.com
- www.store2.com
- Upload and install the site on www.store1.com. This is the only place where files and DLLs are stored.
- From the control panel of www.store2.com( Your hosting control panel, not Administration area) ensure that all requests to www.store2.com are forwarded (not redirected) to www.store1.com. Perform this using CNAME records. This step is crucial.
- From the control panel of www.store1.com, configure a domain alias for www.store2.com. This step can be complicated for some users (ask your administrator to perform this step if you have issues).
After completing the steps above, when accessing www.store2.com from your browser, the content of www.store1.com will be displayed. The next step is to configure the stores in the administration area; you can then start uploading content for both stores.
- Optional (sample): This step can be performed from the Plesk control panel below, as follows:
- When www.store2.com is redirected to www.store1.com, the web server for Plesk does not know how to display www.store2.com since it uses Name-Based Virtual Hosting. Therefore, you must create a domain alias for www.store2.com, as described below:
- Log in to the domain panel of www.store1.com, either directly or via the Open in Control Panel link from the server administration panel.
- From the Websites & Domains tab, select the Add New Domain Alias link near the bottom of the tab.
- Enter the full alias. For example - store2.com.
- Ensure the Web service option is selected.
- The Mail service is optional. Check this option if you want emails from www.store2.com to be redirected in a similar way.
- Ensure the Synchronize DNS zone with the primary domain option is unchecked.
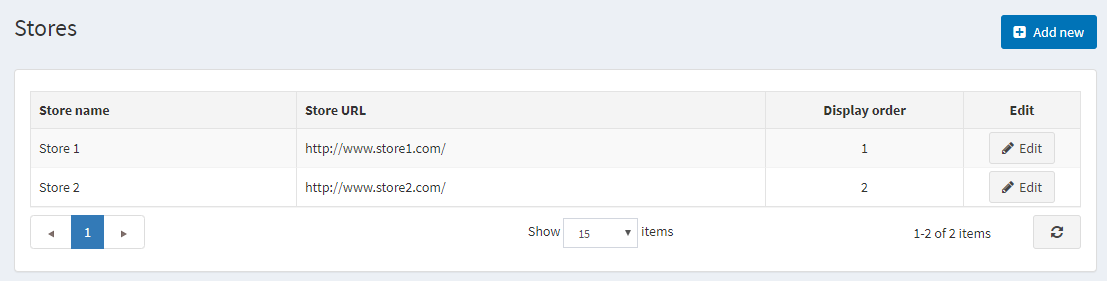
Once the installation and technical setup are done, you can manage your stores from the administration area. Go to Configuration → Stores. The Stores window is displayed:
NOTE
By default, only one store is created
Click Edit beside a store to configure it:
- Define the Store name.
- Enter the Store URL of your store.
- Select the SSL enabled checkbox if your store is SSL secured. SSL (Secure Sockets Layer) is the standard security technology for establishing an encrypted link between a web server and a browser. This link ensures that all data passed between the web server and browsers remain private and integral. SSL is an industry standard and is used by millions of websites in the protection of their online transactions with their customers. Tick this option only after you have installed the SSL certificate on your server. Otherwise, you won’t be able to access your site and will have to manually edit the appropriate record in your database ([Store] table).
- The HOST values field is a list of possible HTTP_HOST values of your store (for example, store1.com, www.store1.com). Filling this field is only required when you have a multi-store solution to determine the current store. This field enables distinguishing requests to distinct URLs and determines the current store. You can also see the current HTTP_POST value in System → System Information.
- In the Default language field, choose a default language of your store. You may also leave it unselected. In this case, the first found one (with the lowest display order) will be used.
- Define Company name.
- Define Company address.
- Set your Company phone number.
- In the Company VAT field, enter VAT of your company (used in the EU).
Add another store by clicking the Add new button and filling up the similar fields.
The two stores have now been configured using a single installation, as follows:
- www.store1.com
- www.store2.com
NOTE
The Multi-store solution (distinction of stores by HTTP_HOST) does not work for sites in virtual directories on the same domain.
For example, you cannot have one store on http://www.site.com/store1 and the second store on http://www.site.com/store2, since the HTTP_HOST value for both of these sites is the same (www.site.com).
Once the stores have been setup and configured, you can define your entities for each store. This is done in the Stores section of the details pages for each of the following: Products, Categories, Manufacturers, Languages, Currencies, Message templates, Blogs, News, Topics.
Scroll down to the "Stores" section and choose the name of the existing store in a "Limited to stores" box, as shown in the Edit Product Details screen below:

Different themes can also be configured for different stores.
In addition, you can override any setting value per store.