What are activities?
Activities are tasks or projects that you can manage in the system, such as projects, appointments, chats, sales calls, and automation. Using Activities means that you do not get bogged down receiving dozens of emails a day because it allows you to schedule and manage collaboration within the platform rather than through email threads.
An Activity can combine notes, files, scheduling, and team collaboration into a self-contained item. It allows you to engage in discussions, enter a detailed, formatted description of the work required, and store any relevant files.
The following steps will assist you in navigating the Activities section:
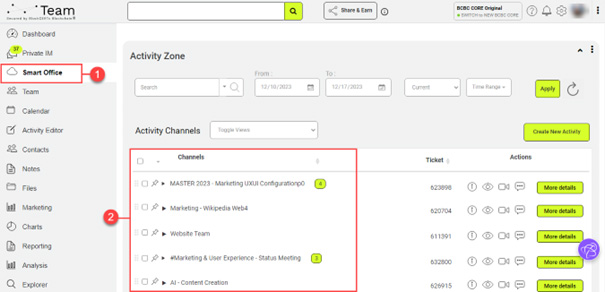
1. On the left-hand panel, select Smart Office.
2. You can find the list of Activities under the Channel section.