Create your Vault
Before creating a vault, you must register for an account, reset your login password, and accept the Blockcerts License Agreement
This section gives a walk-through of the procedure on how to create your vault.
- The first time you logged in to your account, you will be prompted to create a vault.
Click Create Your Vault.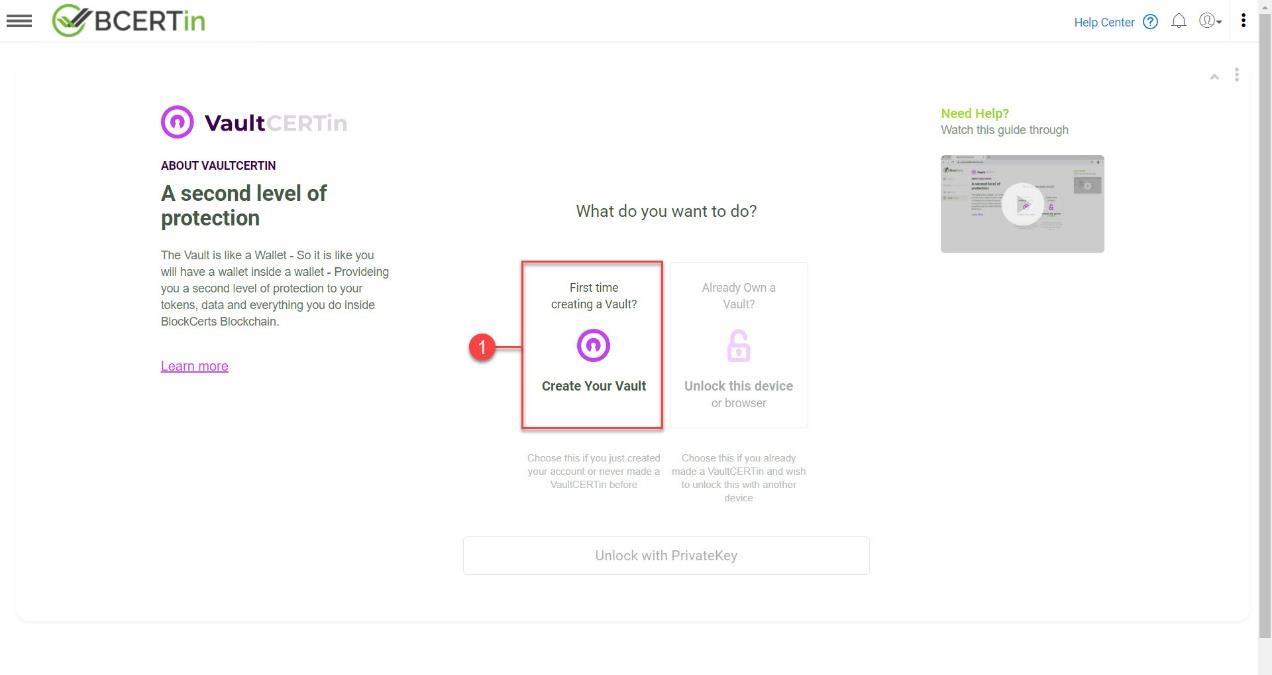
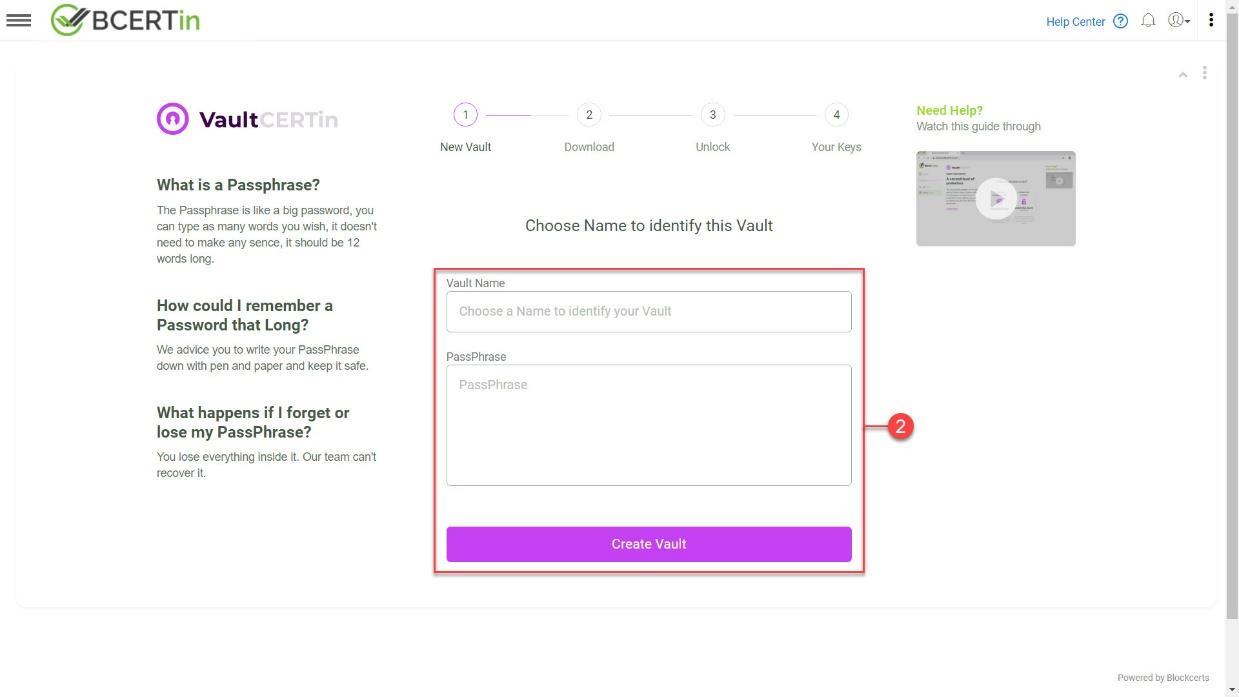
- Enter your Vault Name and PassPhrase. Once you are done, click Create Vault.
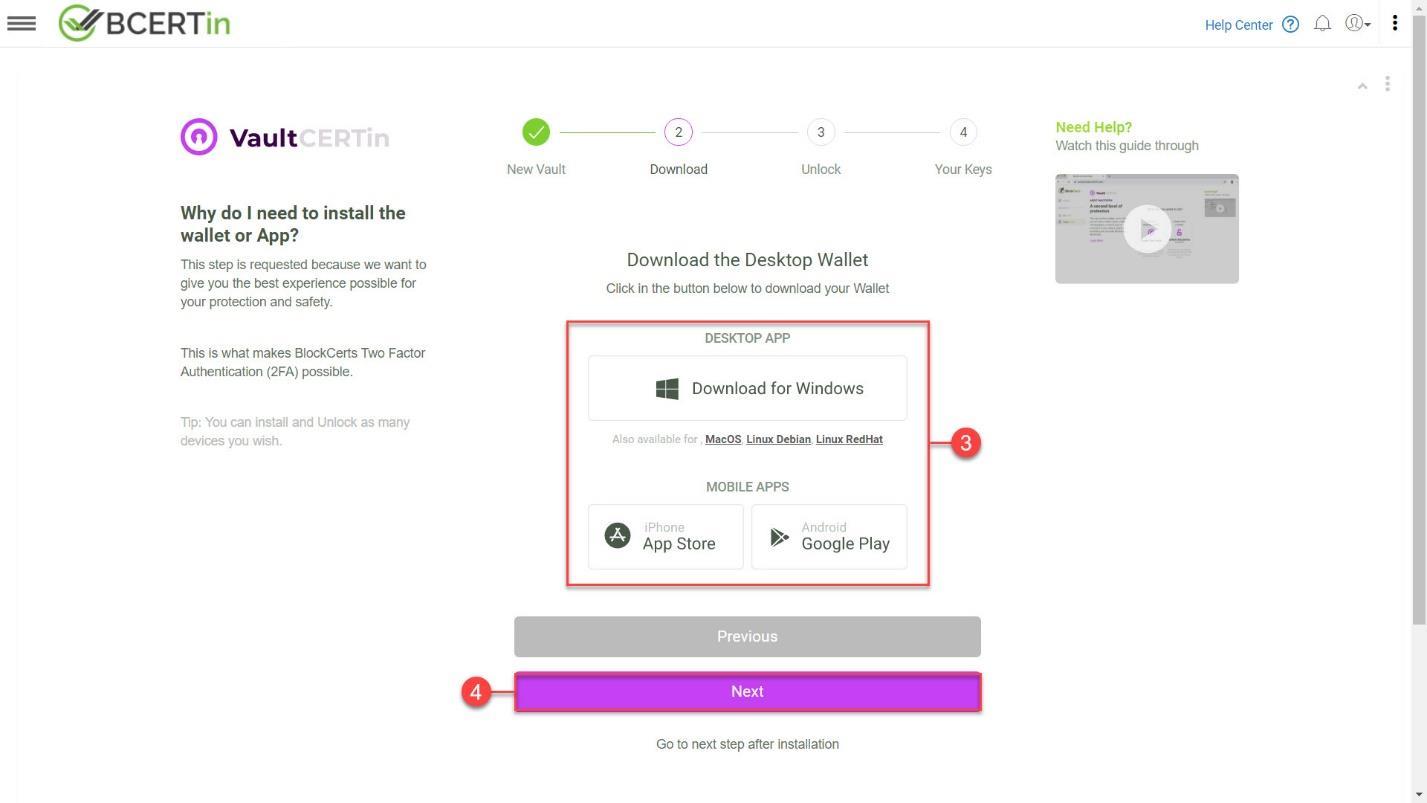
- The checkmark above the New Vault indicates that you have successfully created a vault. After your vault has been created, you will be required to download the desktop wallet and install it. Refer to Download a Wallet and Log in to your Account section below.
- The checkmark above the Download indicates that you have successfully downloaded the desktop wallet. Click on the Next button. Refer to Approve Unlock Request section below.
Download a Wallet and Log in to your Account
This section provides a step-by-step procedure on how to download a wallet and log in to your account.
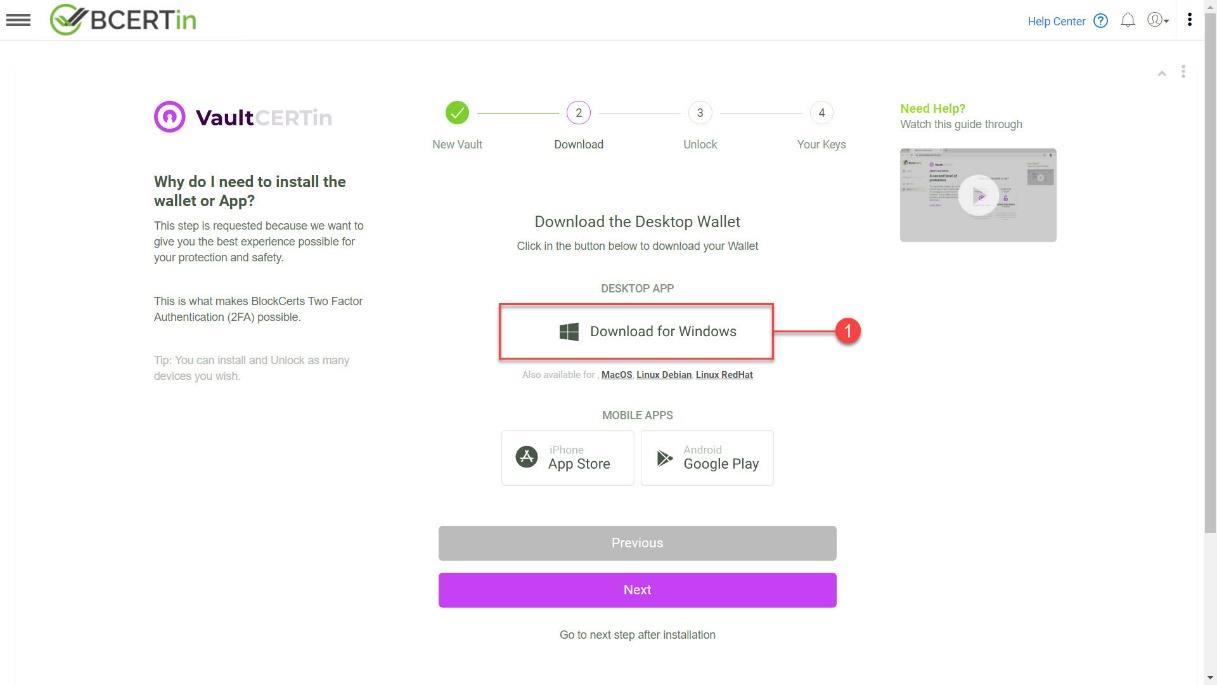
Note: The wallet is available for Windows, macOS, Linux Debian, and Linux RedHat. It is also available for download on App Store or Google Play.
- Click Download for Windows.
- Install the desktop wallet app by clicking on the BlockCerts.exe file.
- Once the installation is complete, you will find the BCERTin Wallet shortcut on your desktop. Double-click the BCERTin Wallet icon to open the application.
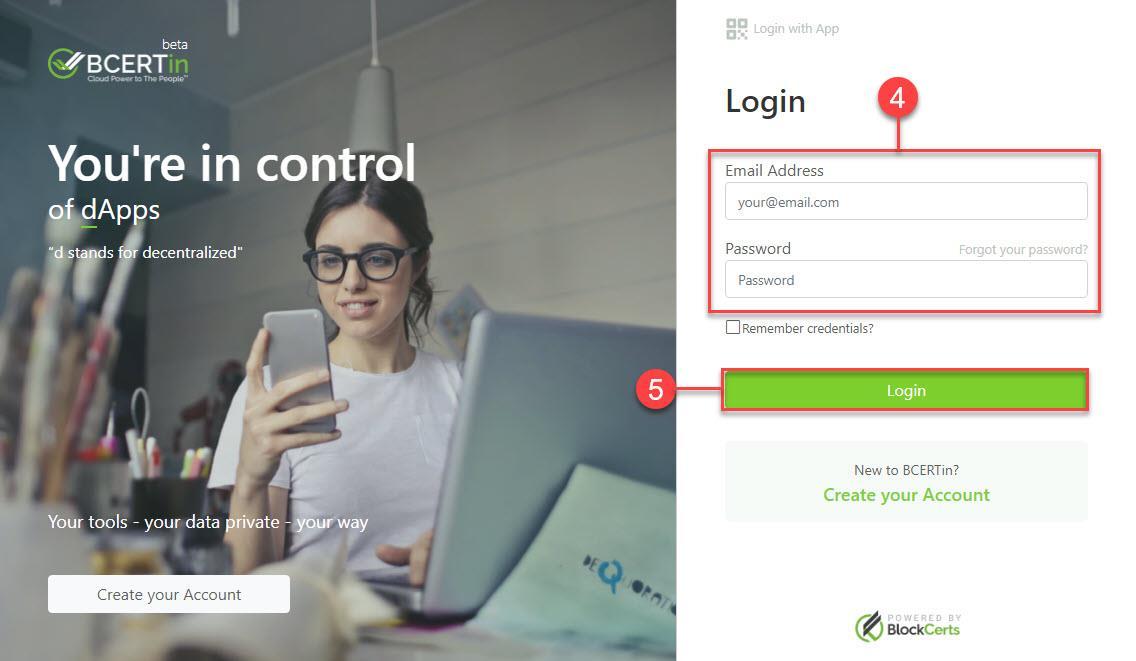
- Log in to your desktop wallet with your credentials.
- Click Login.
Approve Unlock Request
This section guides you on how to approve unlock requests.
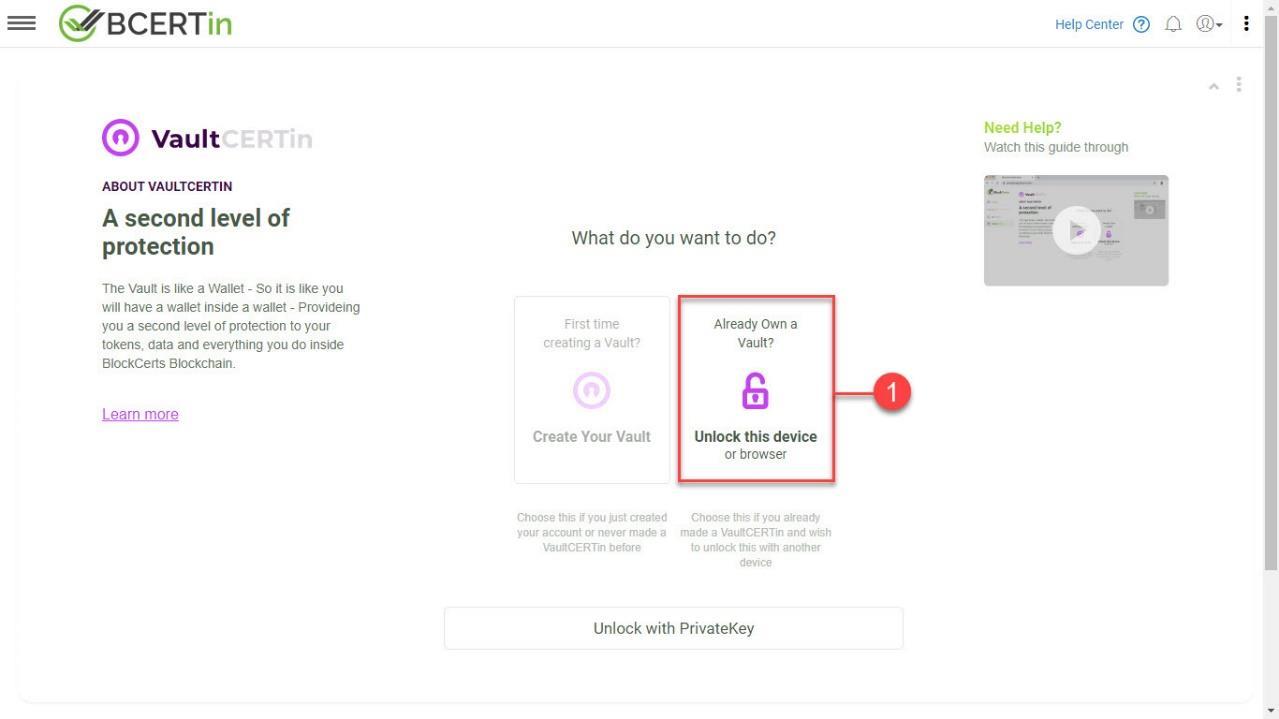
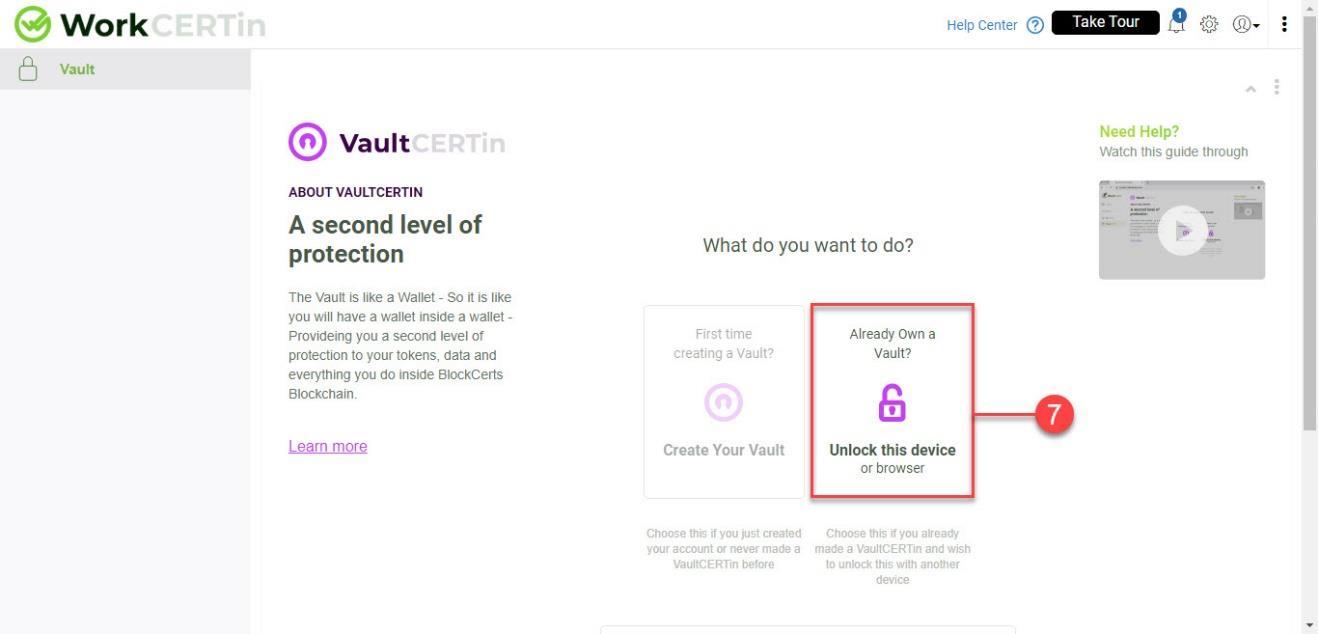
- Click on Unlock this device or browser if you wish to unlock it with another device
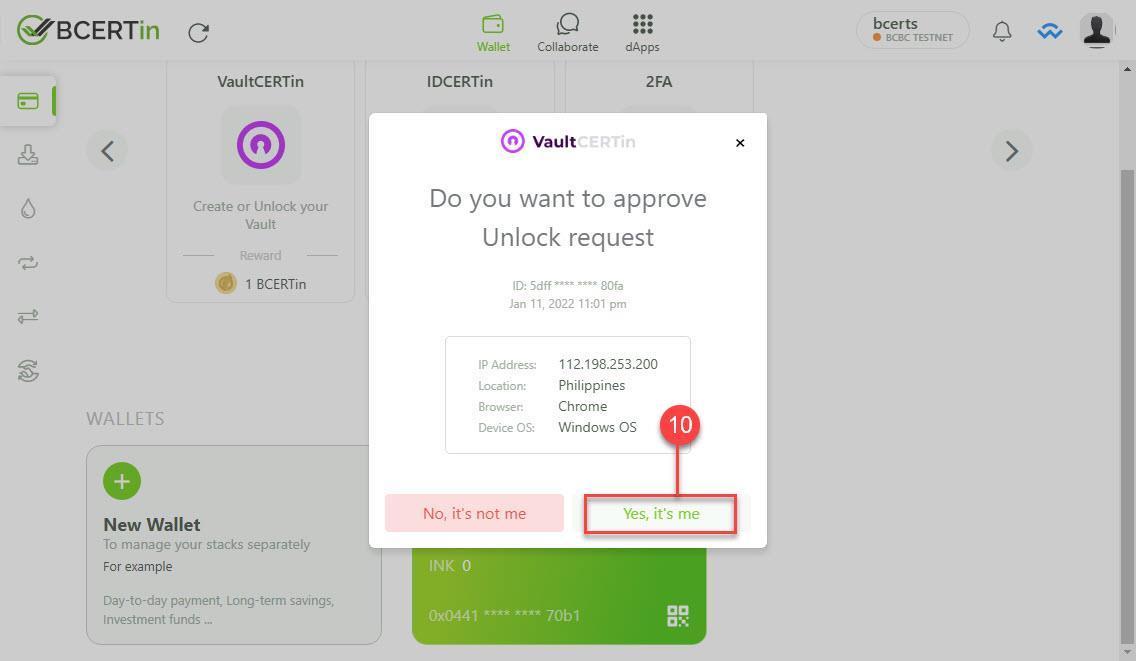
- On your desktop wallet, you will be prompted by the VaultCERTin unlock request.
The unlock request window displays the following information:
- ID
- Current date and time
- IP address
- Location
- Browser
- Device OS
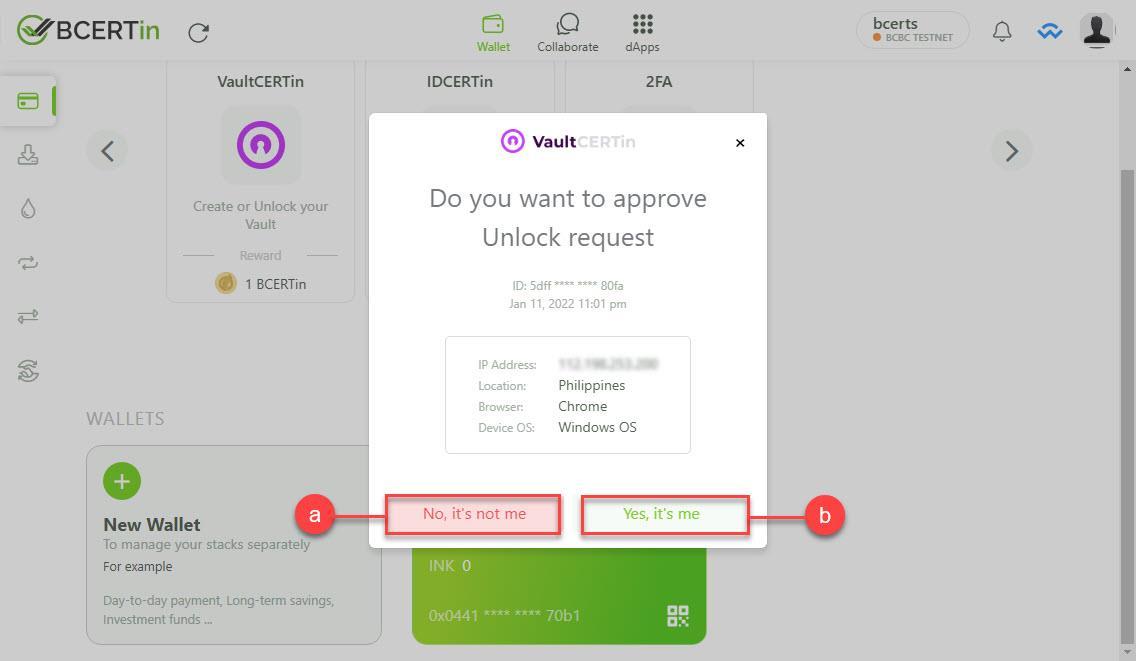
- If you disapprove of the unlock request, click No, it’s not me.
On your browser, the Unlock Request dialog box will appear and inform you that your unlock request has been rejected.
- Otherwise, click Yes, it’s me. On your browser, ‘Here are your Vault Keys’ will be displayed.
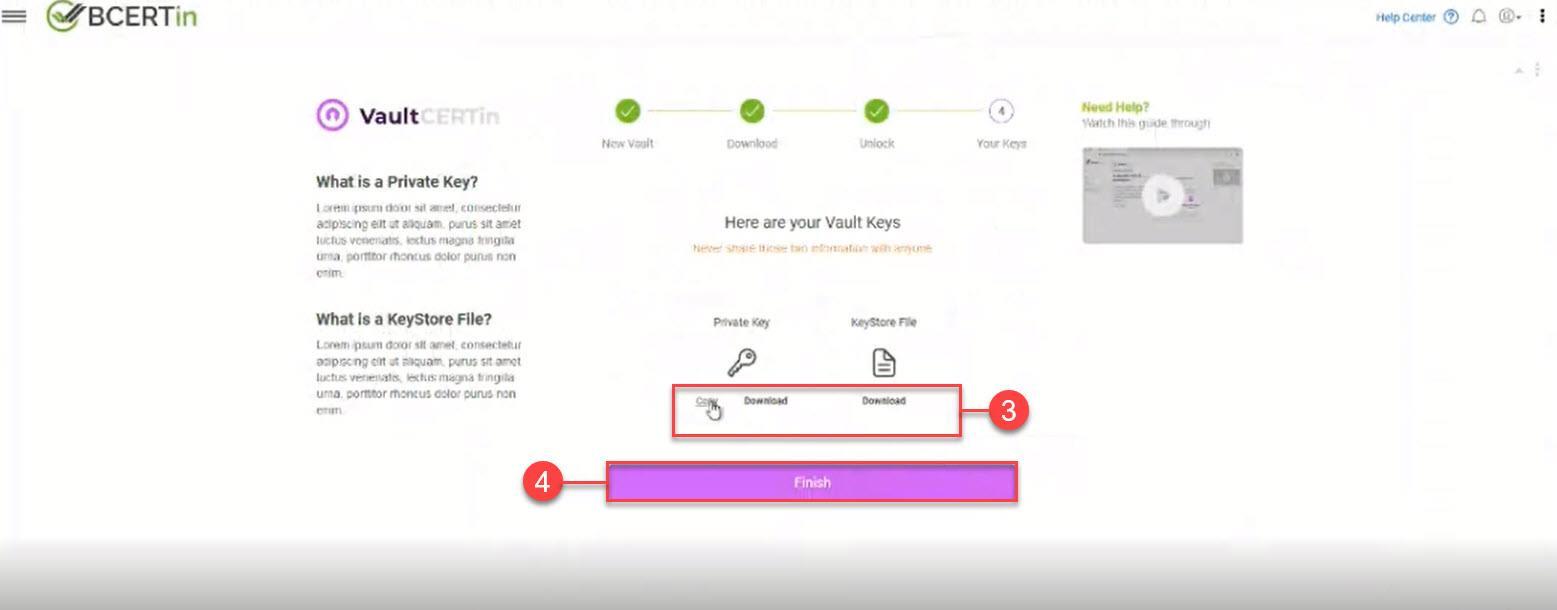
- You either click Copy or Download to save copies of your Private Key and KeyStore File.
- Click Finish to give you access to other system functionalities. To create a public key URL instance, refer to the Create a Public Key URL WorkCERTin Instance section below.
Create a Public Key URL WorkCERTin Instance
This section provides you with the steps on how to create a public key URL instance.
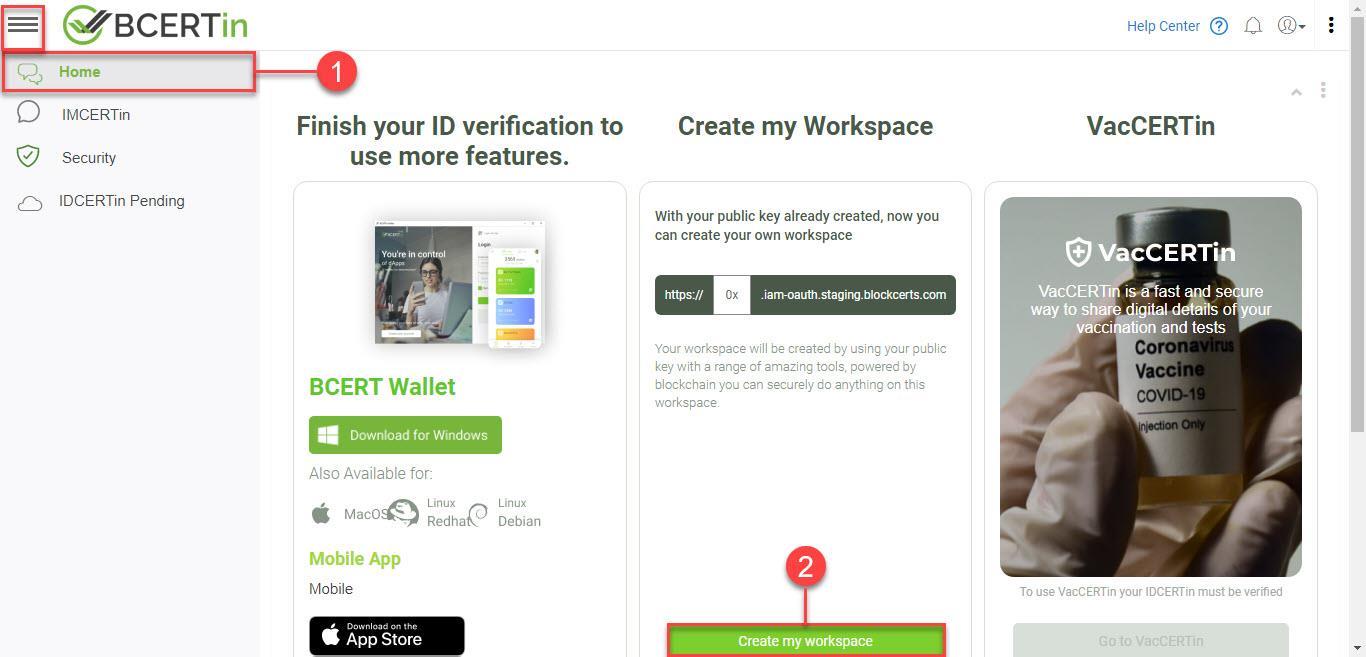
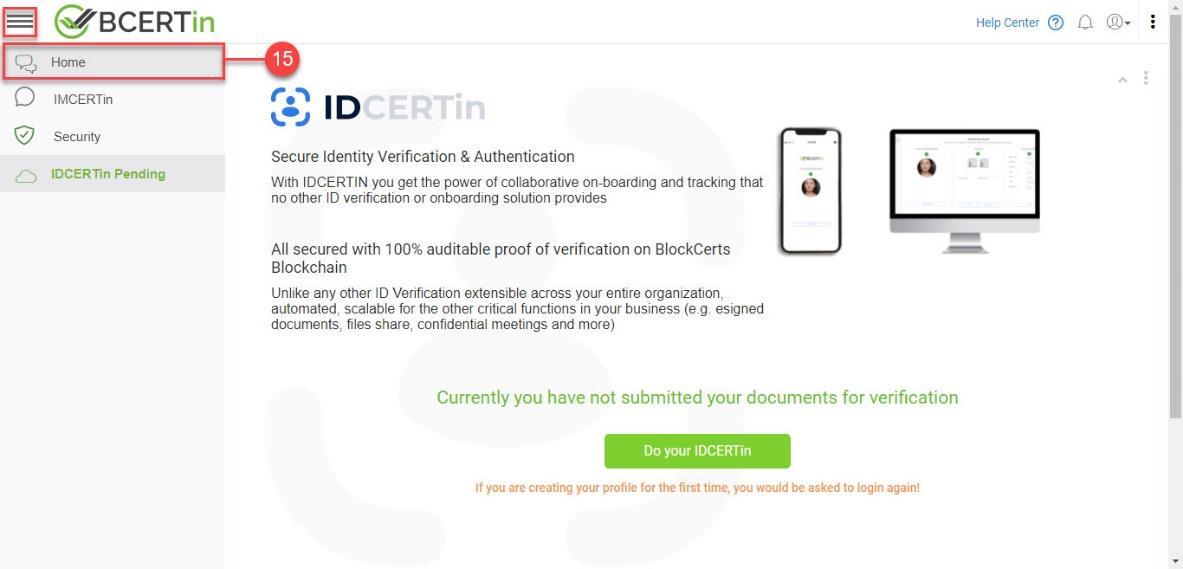
- Click on the drop-down menu in the upper-left corner of the screen and select Home.
- To create an instance using your created public key, click on Create my Workspace.
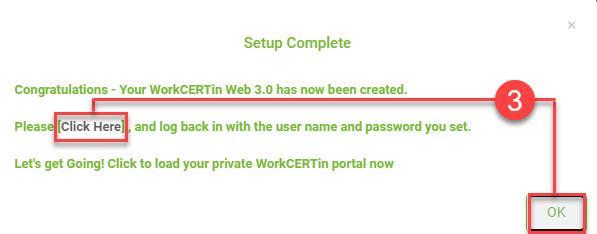
- On the Setup Complete popup window, click on either the OK button or Click Here. This action logs you out from your account to access the public key instance.
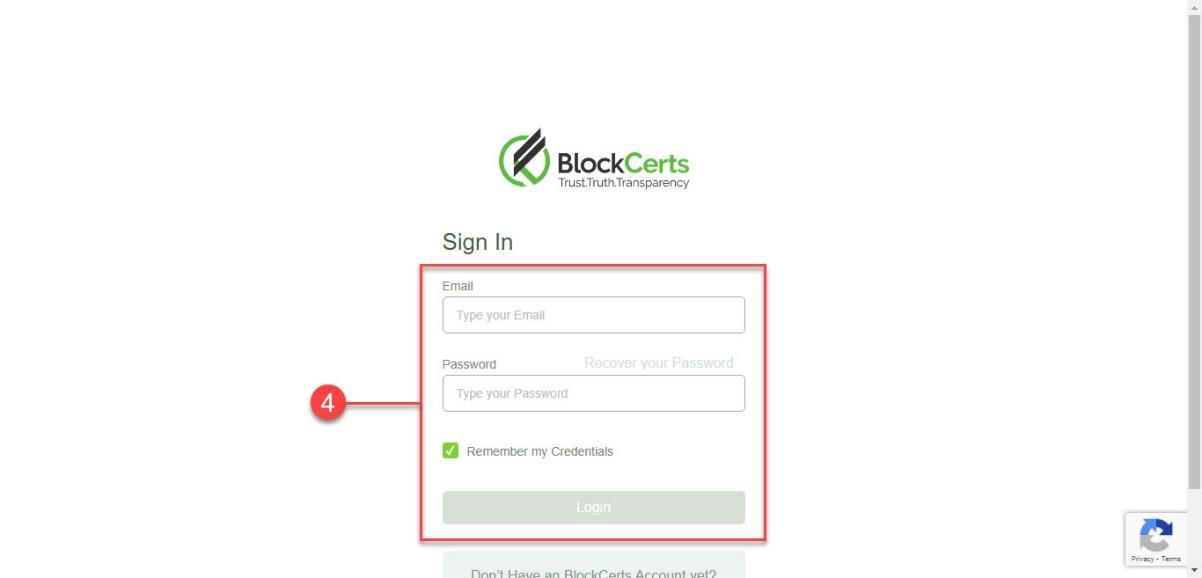
- Log in to your account using your credentials.
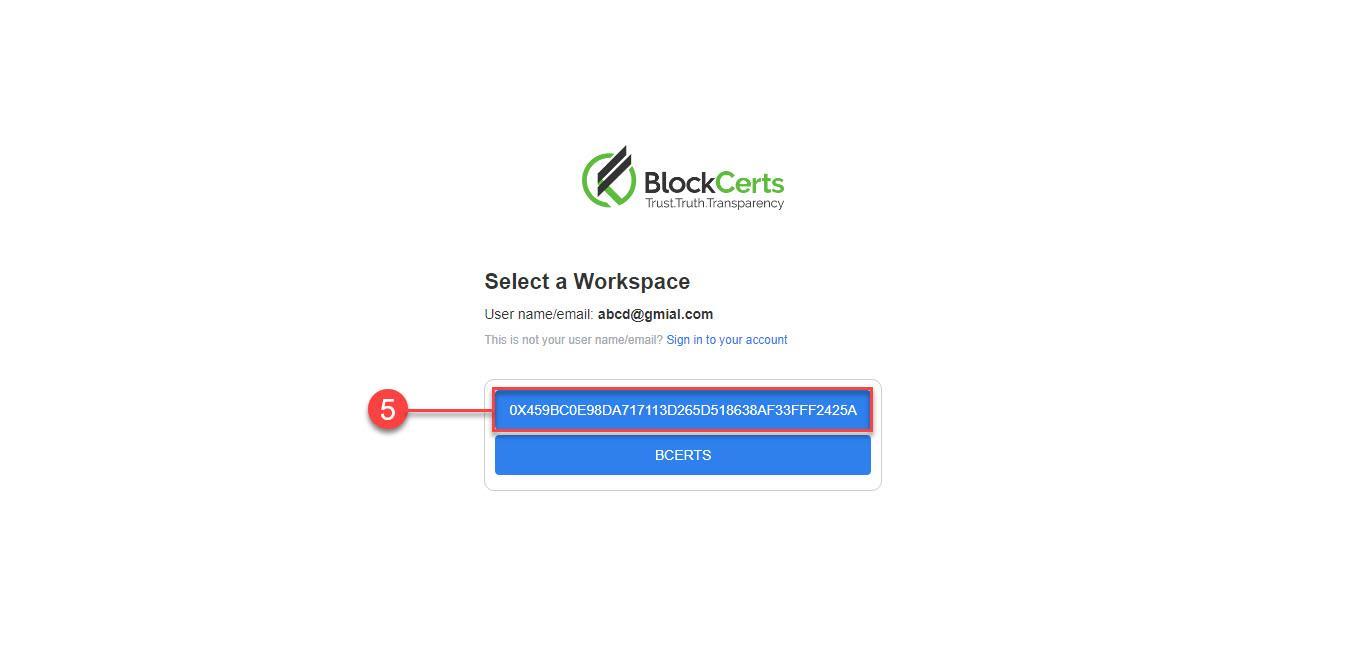
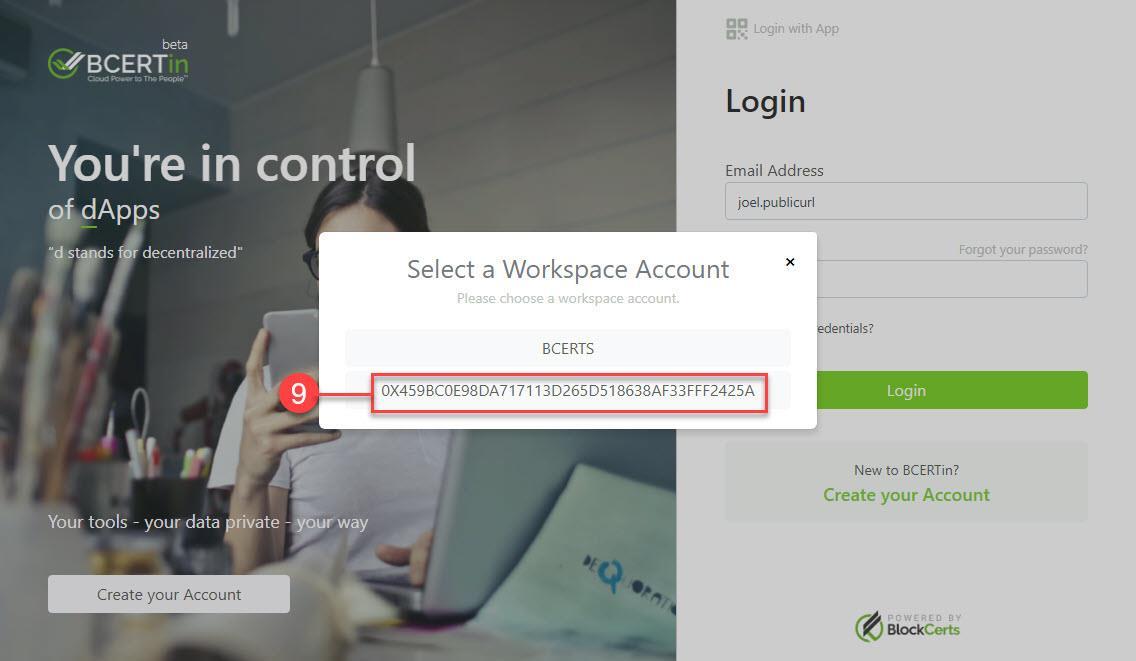
- You will be presented with a list of instances that you are a part of. One of them is your public key URL instance. Select a workspace by clicking on that instance.
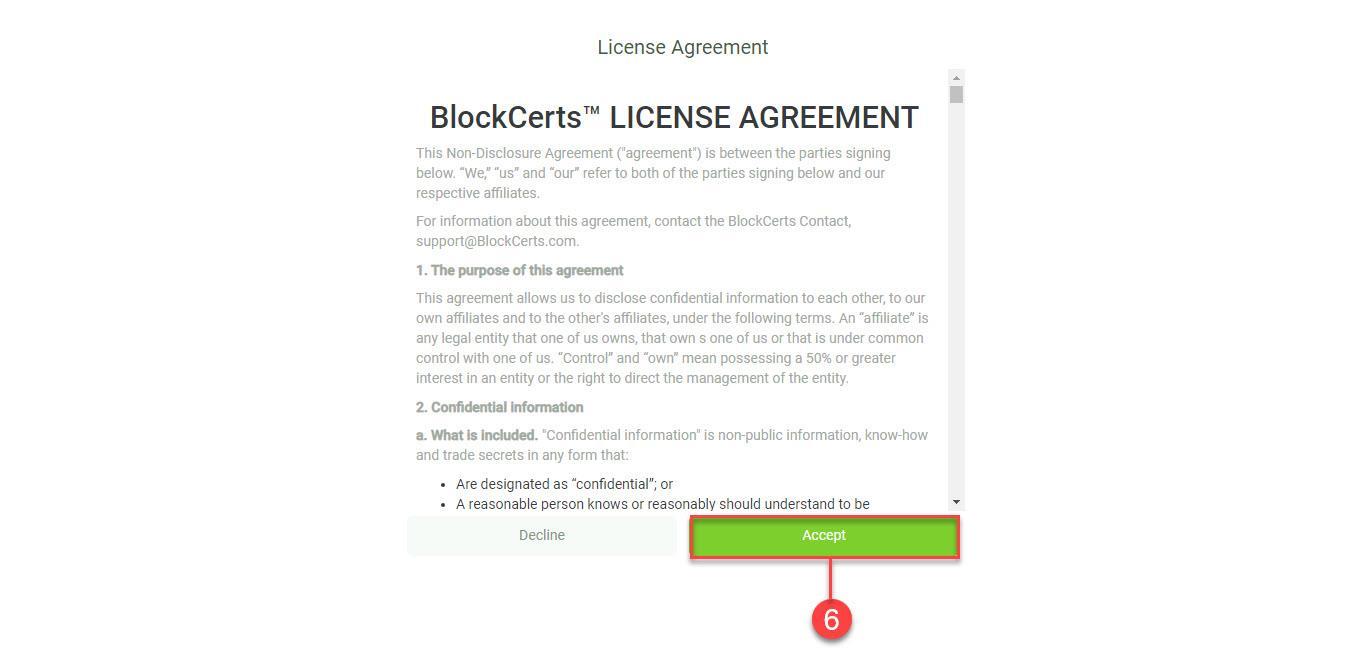
- After reading the BlockCerts License Agreement, click Accept.
- Log out and log back in to your account to access your public key URL instance. Click Unlock this device or browser and confirm it on your wallet by clicking Yes, it’s me.
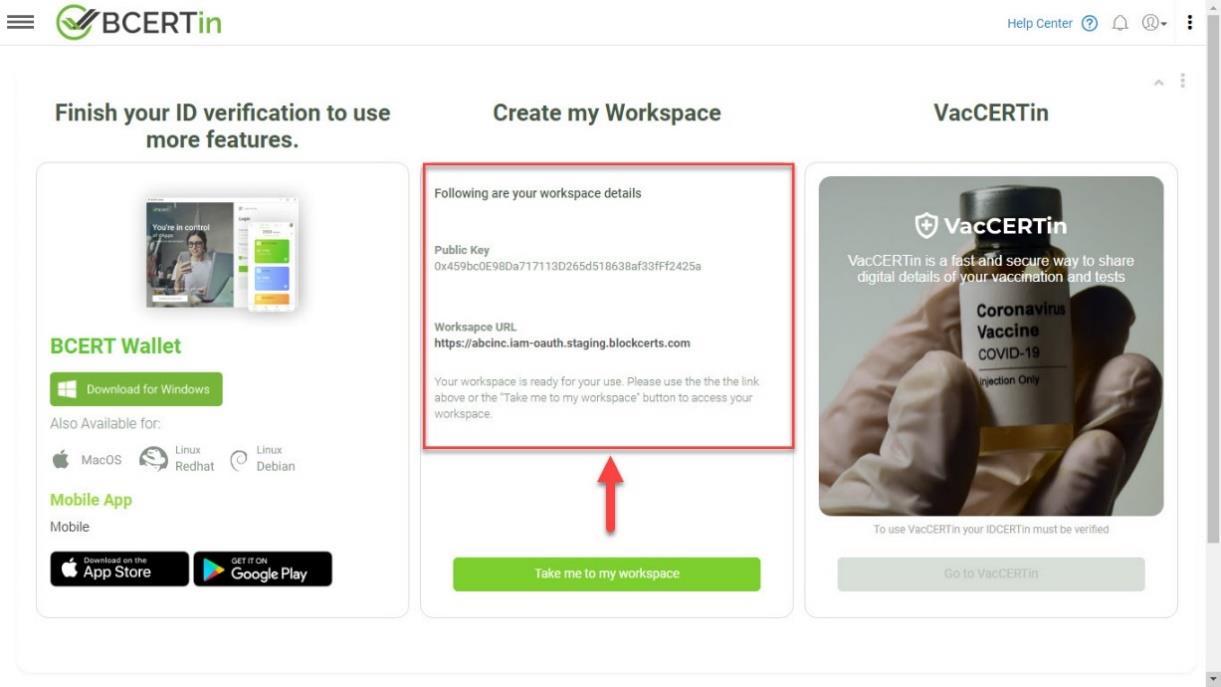
- Your public key URL WorkCERTin instance homepage will be displayed.
Note: Your public key is also displayed as one of the components of the URL.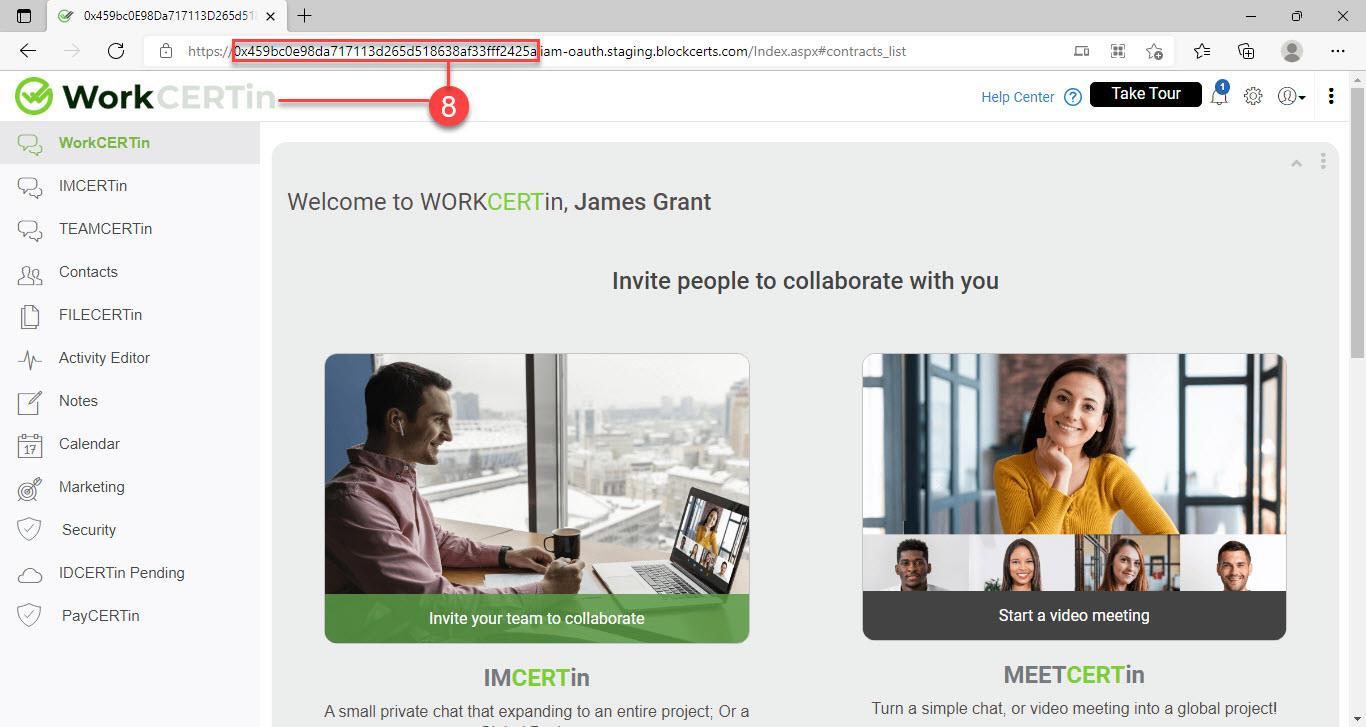
The details of your created workspace are also available on your homepage, such as the Public Key and the Workspace URL.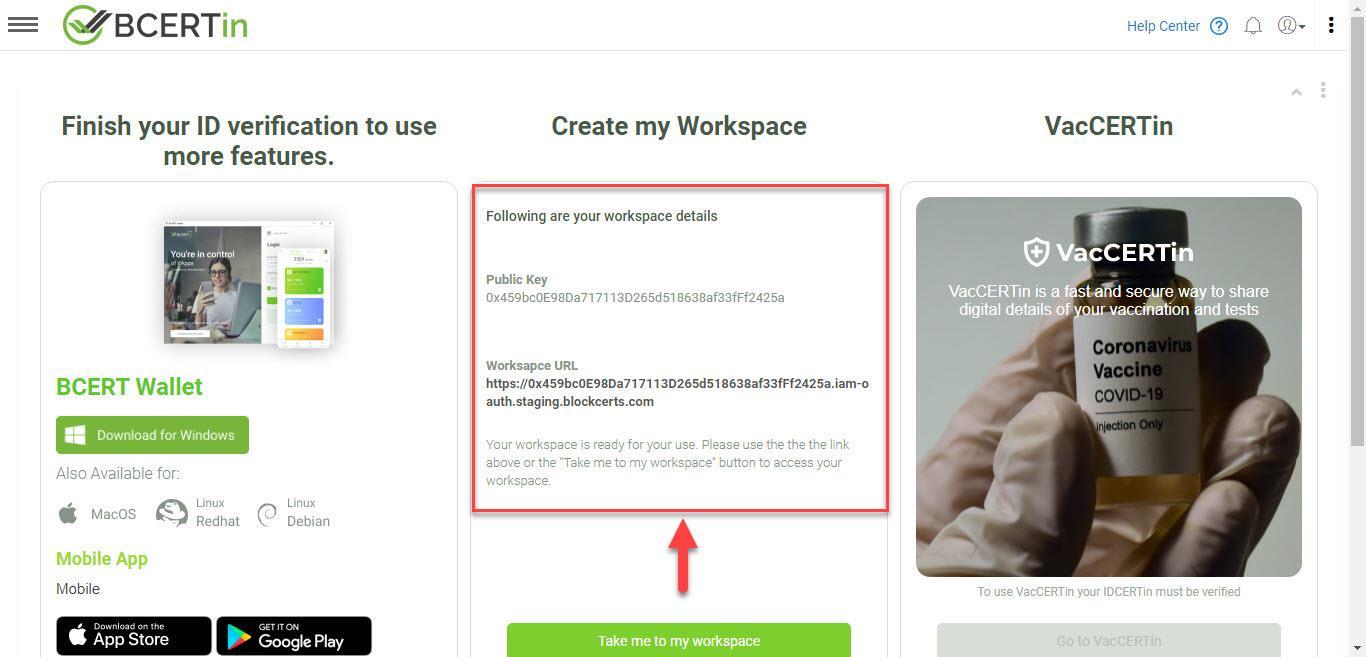
- To change your public key URL to a friendly name, log out and log back in to your account. Select your Workspace.
- Click Unlock this device or browser and confirm it on your wallet by clicking Yes, it’s me.
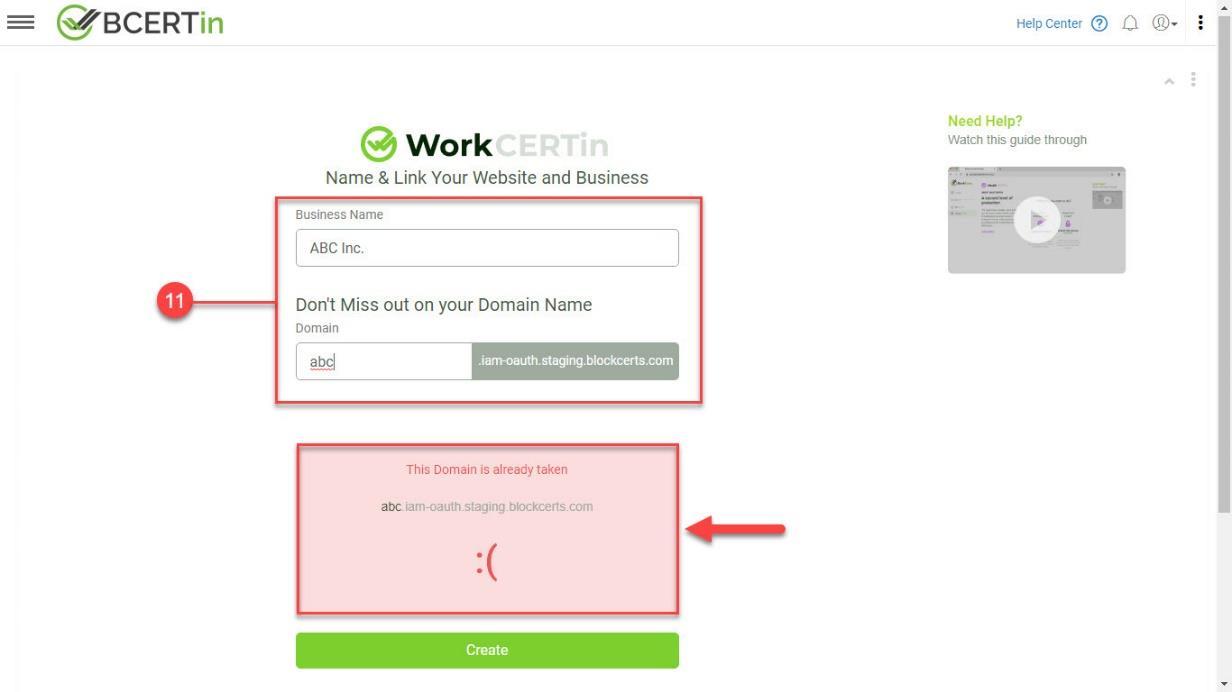
- Enter your unique Business and Domain Names.
- If the Domain Name is already in use, the ‘This Domain is already taken’ message will be displayed.
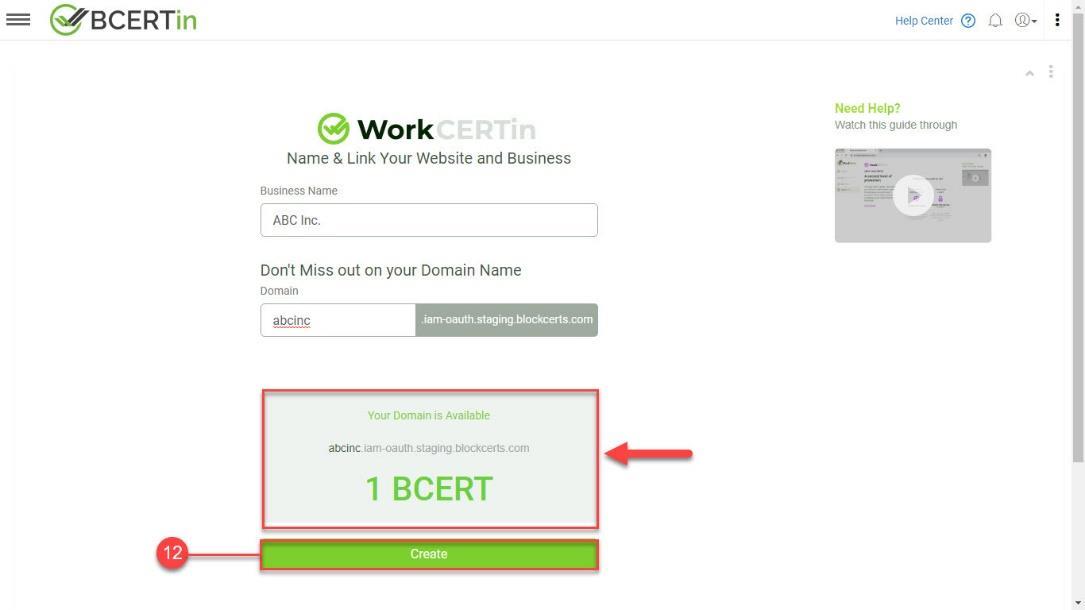
- Otherwise, the ‘Your Domain is Available’ message will be displayed and will require you 1 BCERT token to create a friendly name.
- If the Domain Name is already in use, the ‘This Domain is already taken’ message will be displayed.
- Click Create.
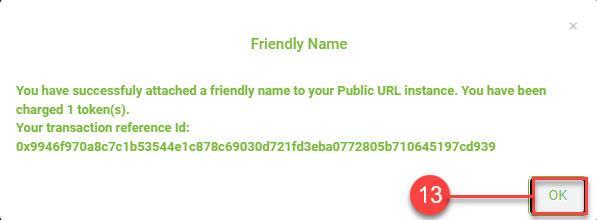
Upon clicking the Create button, the system will check your available BCERT token balance. If you have enough balance, the ‘You have successfully attached a friendly name to your Public URL instance. You have been charged 1 token(s).’ confirmation message will be displayed. - Click OK to confirm.
- Click on the drop-down menu in the upper-left corner of the screen and select Home.
- On your homepage, your Workspace URL will now display your chosen friendly name.