File Settings
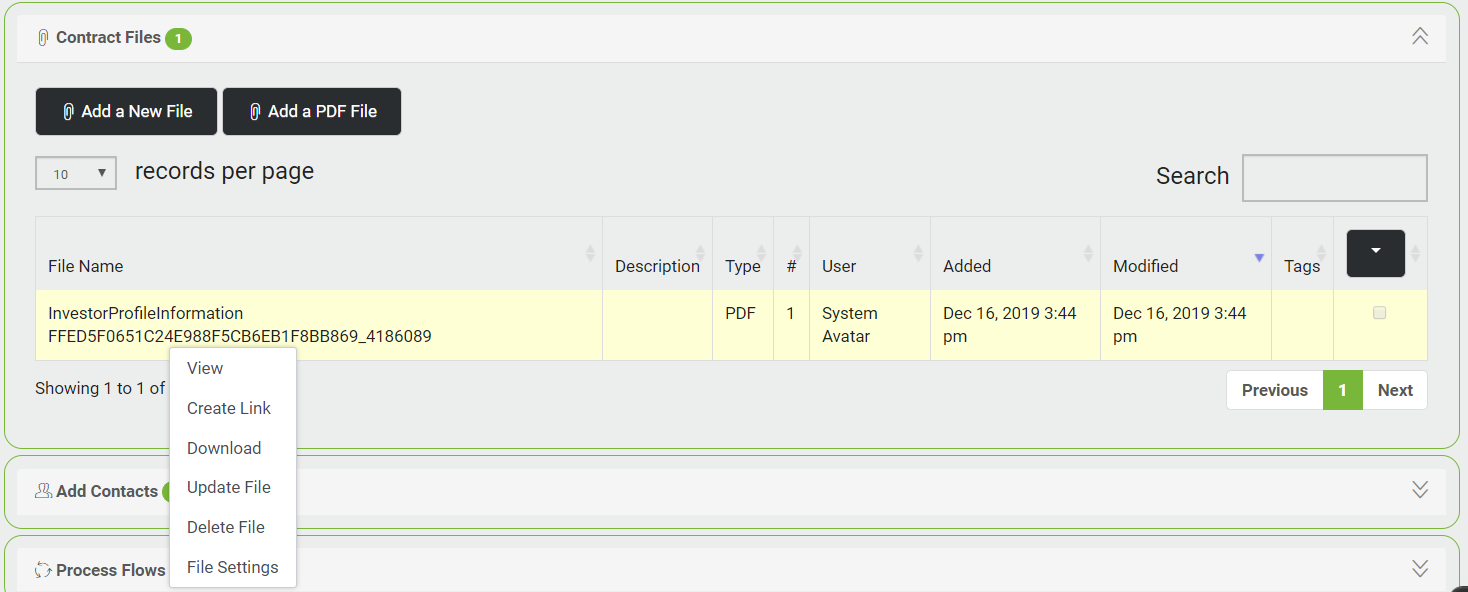
Click on the File and select File Settings from the dropdown as shown below:

A new window File Settings opens. It displays the file information, viz. File Name, Created By, Created On, Last Modified, Description, Versions of the file (if any), Linked Contacts to the file (if any), Permissions on the File.

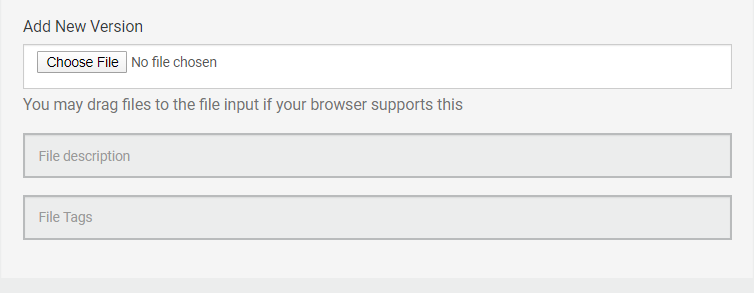
The user can add a new version of the file.

To add a new version, click the  button. This will open Windows Explorer so you can choose the file to be uploaded. Add Description and Tags, if any. Click the
  button
You can also Drag Drop the file.
To change permissions, click the  or
or  radio button as needed.
To change Roles that can access this file, check the appropriate checkbox. For example, The Accounting role can access the file as the checkbox is checked whereas, the Asset Onboarding Verification Role cannot access the file as the checkbox is unchecked.

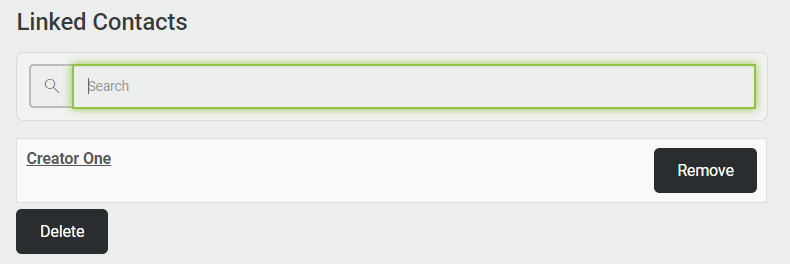
You can add or delete Linked Contacts to the File.

To add a contact, type the name in the  box and click Enter key.
To remove a contact, click the  button next to the contact name. The contact is deleted.