Send Letter
This article covers the Send Letter function in the Group Contact Operations drop down menu.
- Before you start confirm that you have access to the letterhead that you would like to use. See #4 for details on selecting a letterhead. If the letterhead you wish to use is not available make sure you are in the correct project space as letterheads are project space dependent. You can set up a Letterhead if you have access to Templates or contact your System Administrator and request them to create one..
- You can create your "Recipient List" through Groups, search, from favorites, and more.
- Select contacts to which you will send.
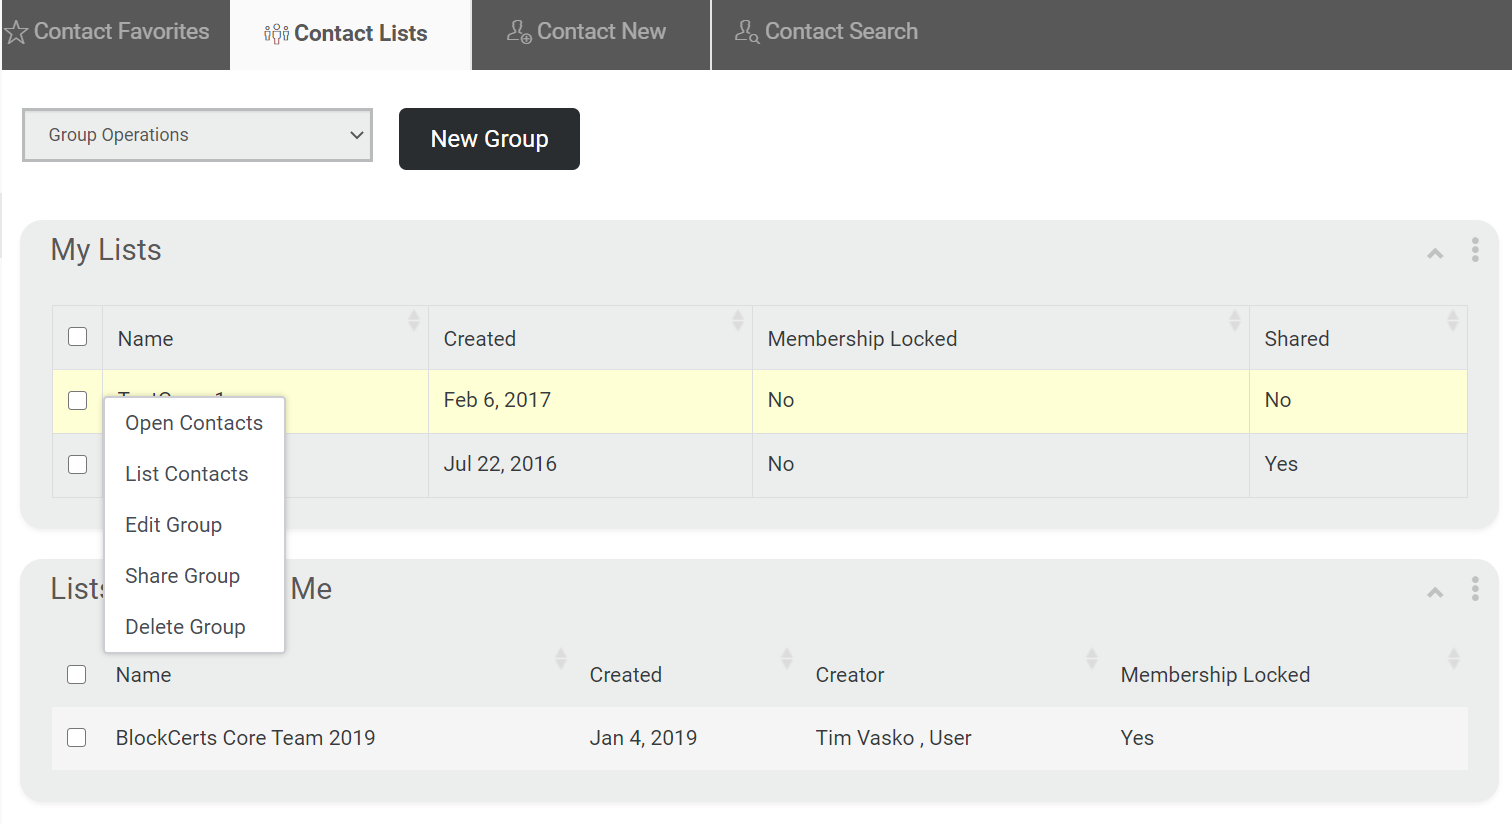
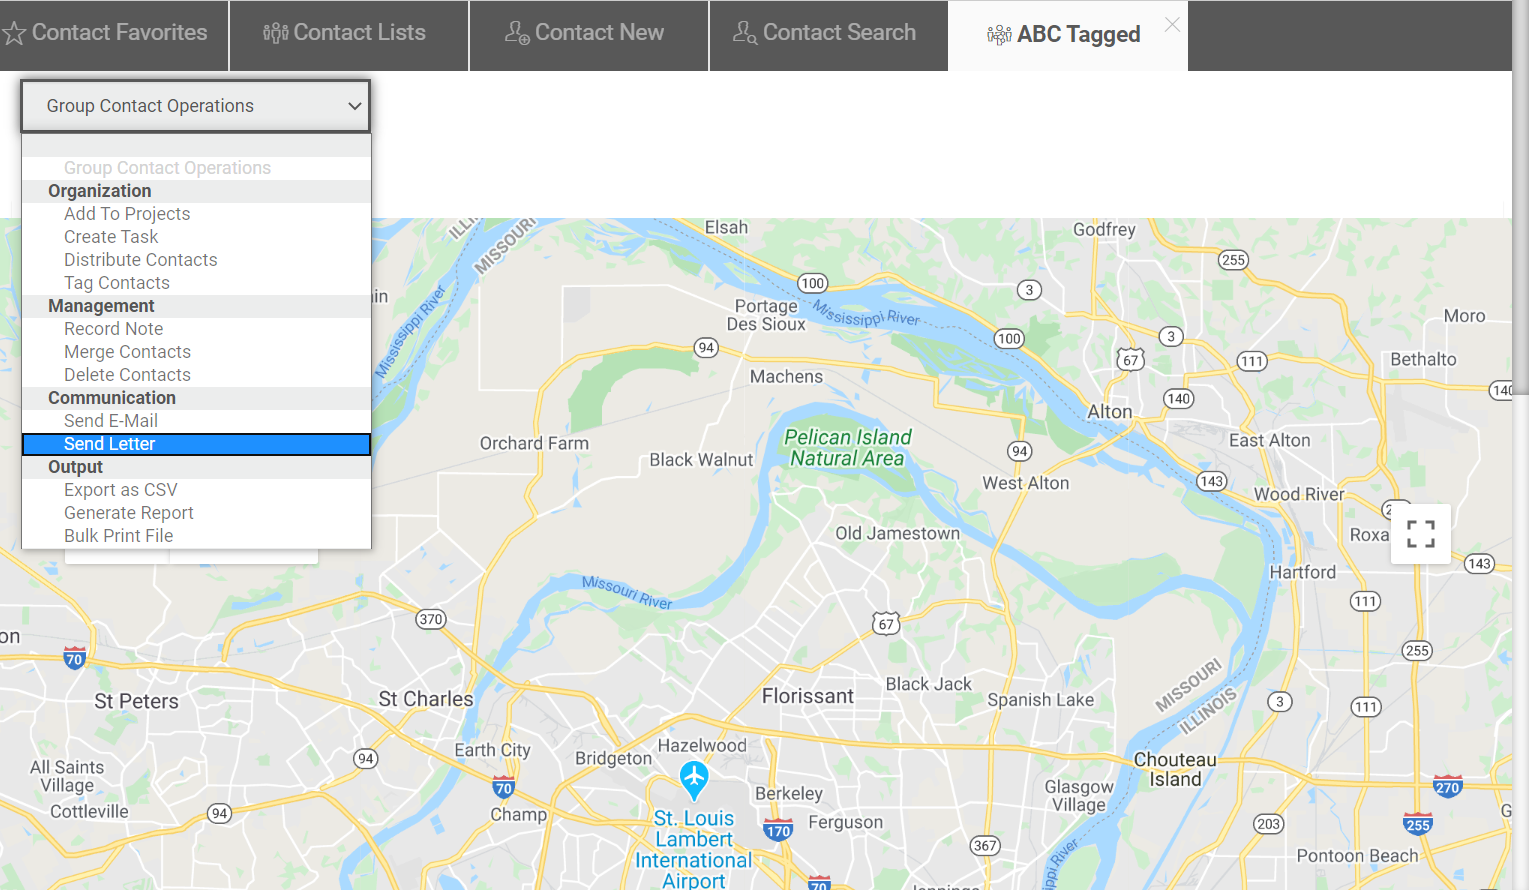
Tip: the checkbox next to "ID" selects all contacts on the current page. Click "Select all contacts in the search" to select contacts across multiple pages. - From the Group Contact Operations menu, select Send Letter.
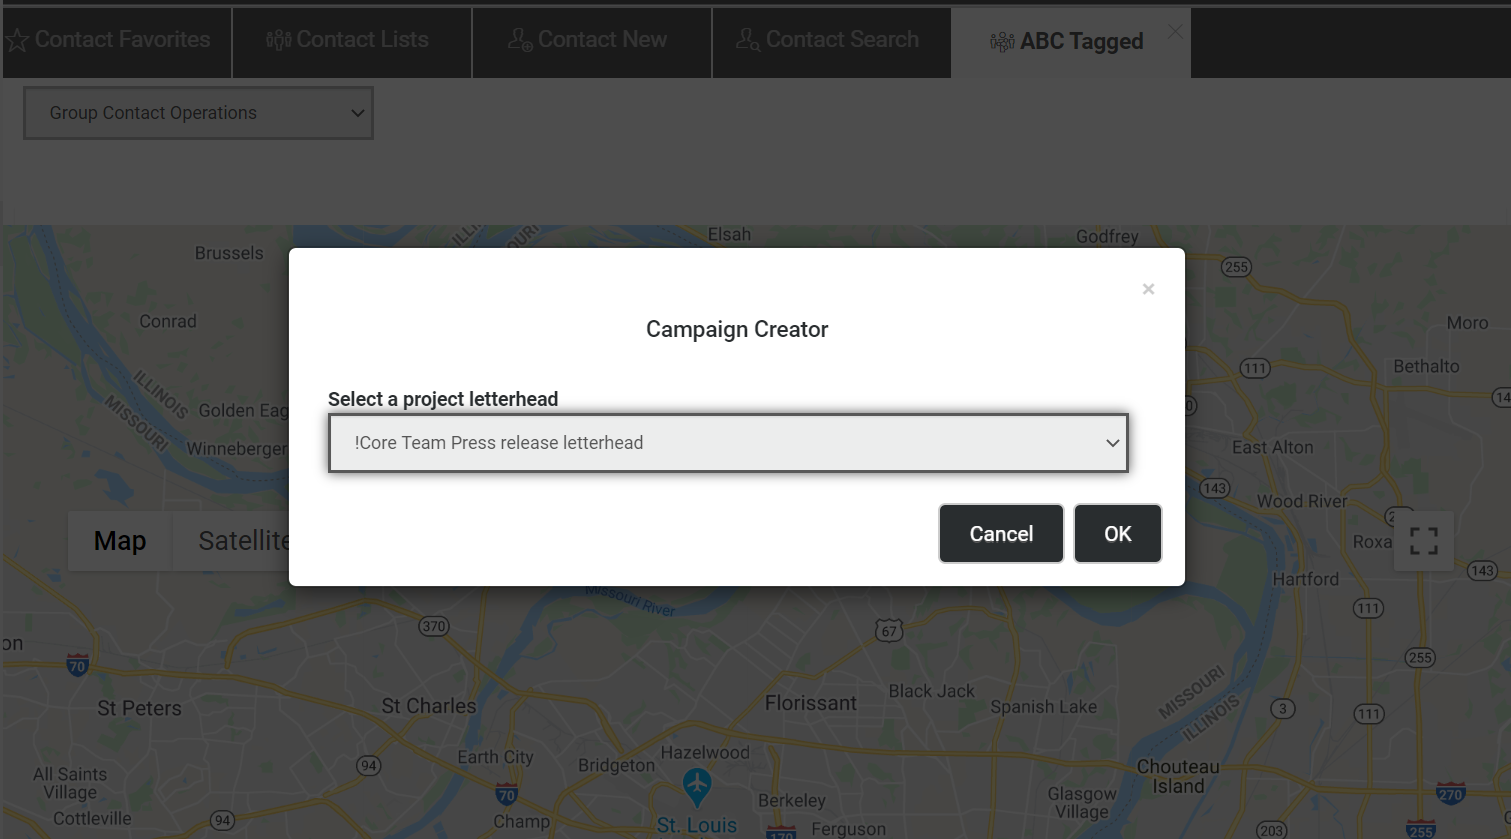
- Choose the appropriate template from the dropdown. Your System Administrator provides the templates available here.
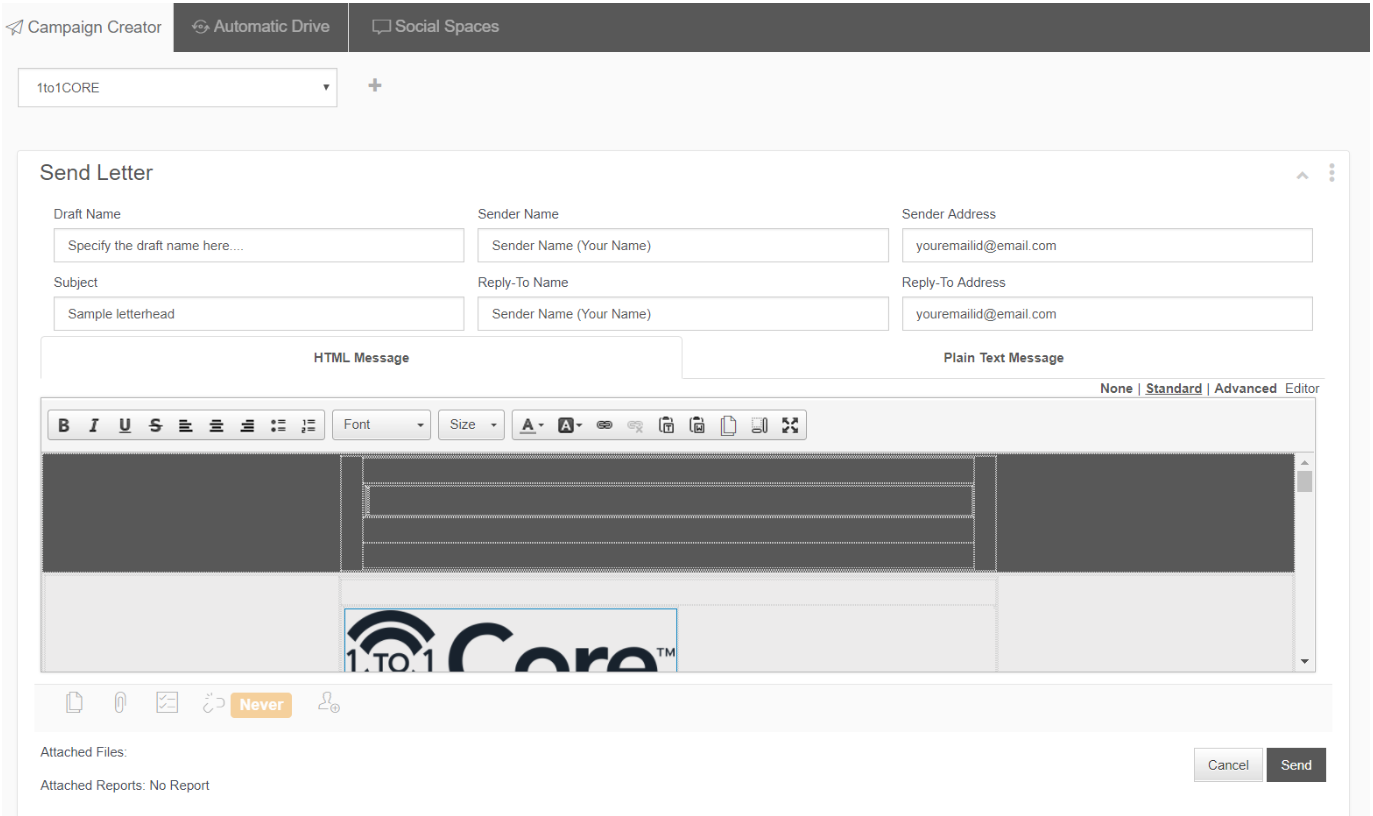
- Customize the template into your desired letter.
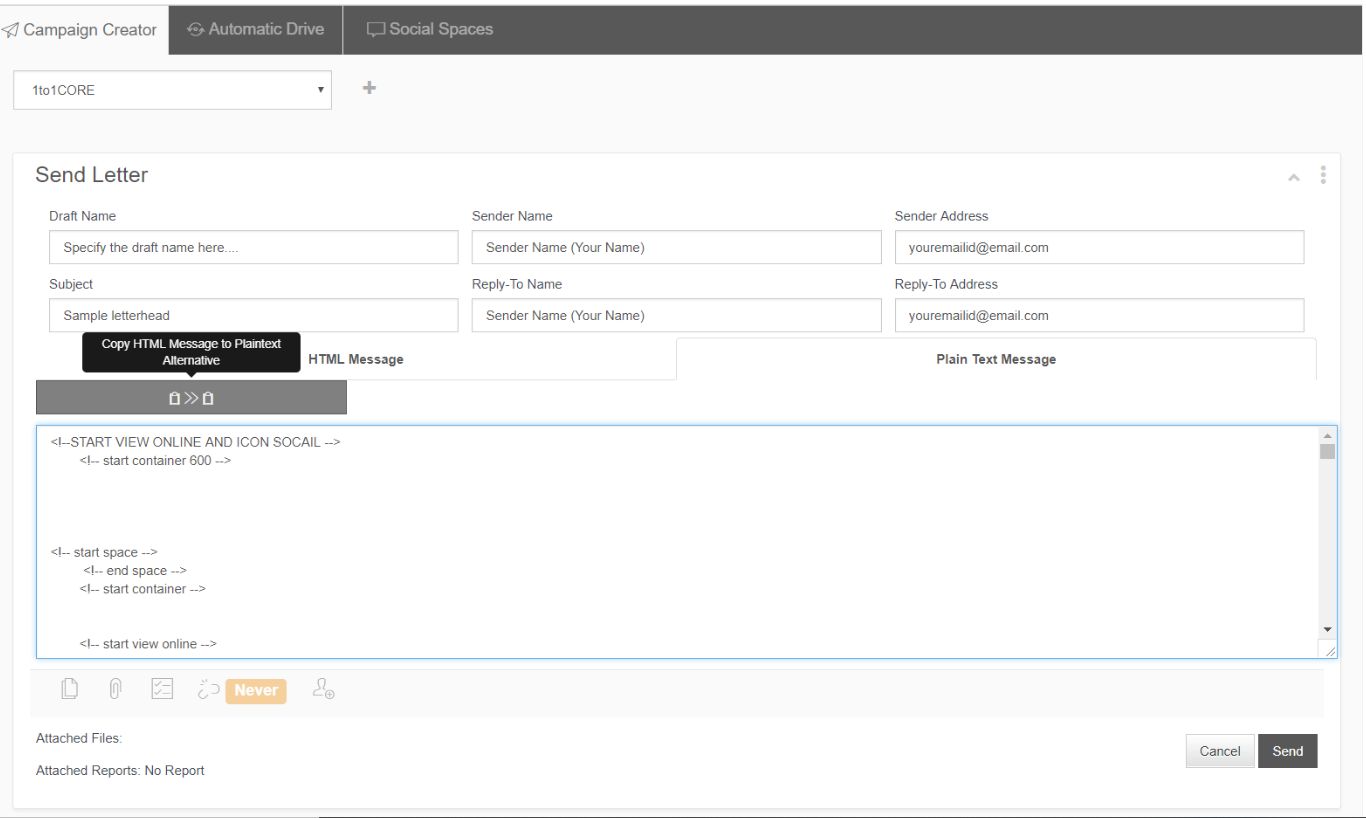
Enter all the details like the Template Name, Subject, and other details as shown below
Once you are done with the HTML version of the template, make sure to click on "Plain text message" and then click on the "Copy HTML to Plaintext Alternative" button to copy your email to plaintext. This will not only make it easier for users with accessibility issues, it will also help you avoid the spam folder. Please see below
- Click on Send. Don't worry, It won't send out the email yet.
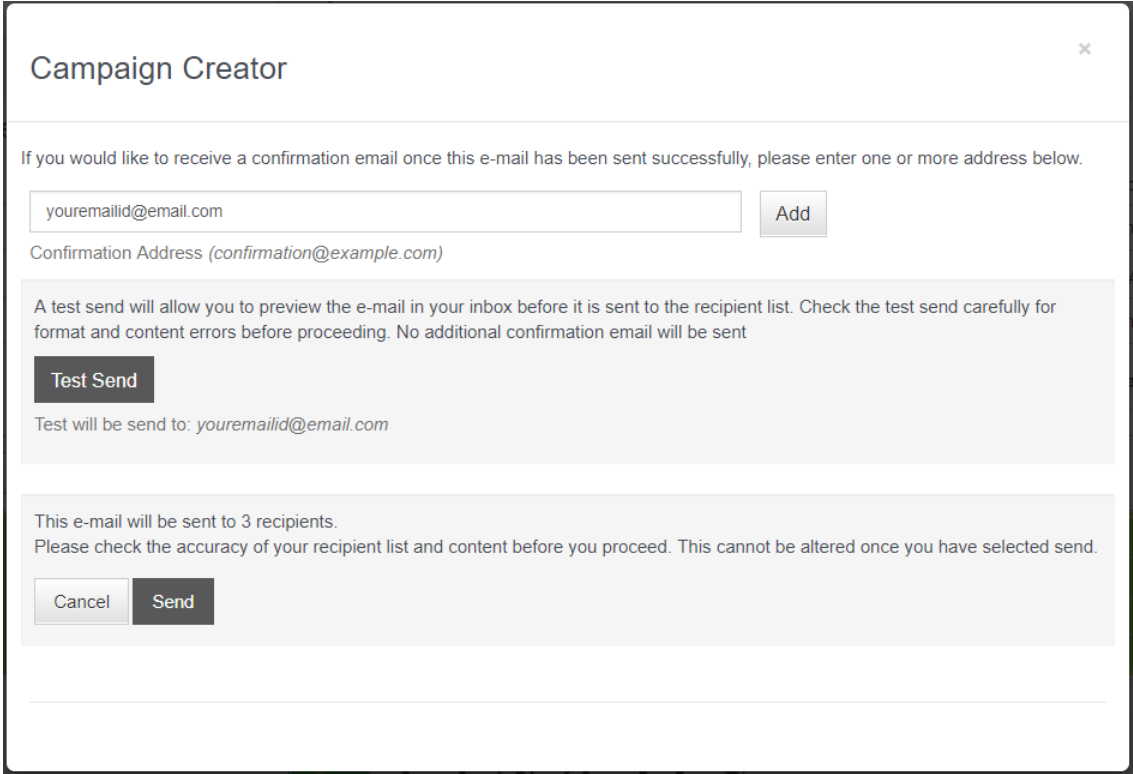
Recommended: In the next screen, use the Test Send button to send out test email. It will send to only your email so you can check the formatting and content. Tip: Emails can display differently from one email client to the next, eg. Gmail vs Outlook vs iPhone. Simple emails will display the best.
Warning: Click Cancel if you need to make any edits, other wise click Send. You will receive an email once the send is completed - if the Recipient List is to thousands of contacts it may take a while to send them all. See below
Once you send out the test emails, you will get this message telling you taht the test sends were successfull!
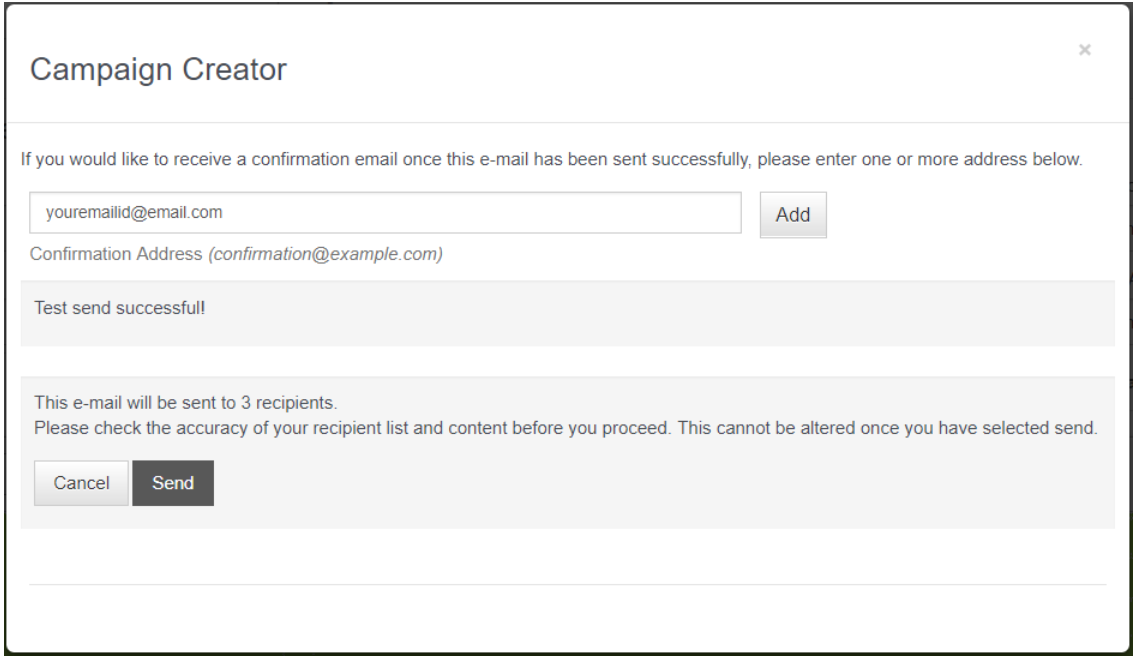
You will need to carefully check your test send for variable data. If you used the firstname variable "Dear [FIRSTNAME]" and notice that it is not appearing as your user name in the test send then you probably entered the variable incorrectly.
Before sending check that all your material has correctly copied and that you have manually entered any necessary links.
- Once all the details are checked through the test email, Click on
 to send it to all the selected contacts as shown below
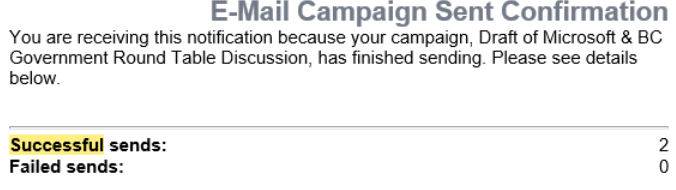
 - The following message is displayed once the email is sent to all the recipients as shown below

- A status email on the number of emails sent is sent to the one who creates and sends the letter as shown below
- Confirm with one or two contacts to make sure that they have received the Letter