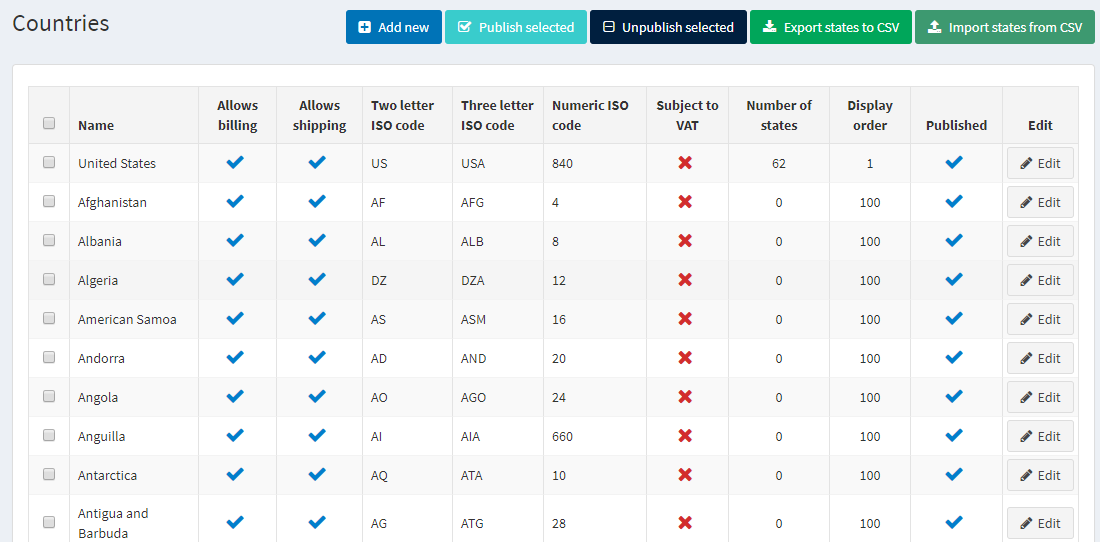
Countries
This section describes how to manage countries (where your customers are located).
To define the country setting go to Configuration → Countries.
TIP
By default, all the countries are uploaded. You can Publish and Unpublish countries by selecting them and clicking the corresponding button.
Adding new countries
You can Export a list of states of all the countries, which were added to the system, or Import the additional.
NOTE
The format of your file to be imported should be the same as of the exported.
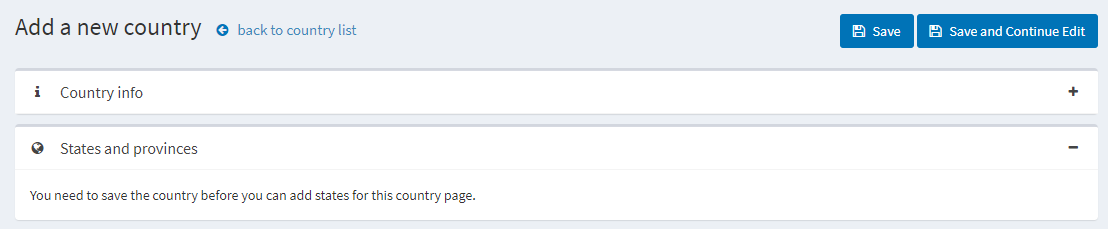
Or you can add new countries manually. To add a new country to your list, click Add new.
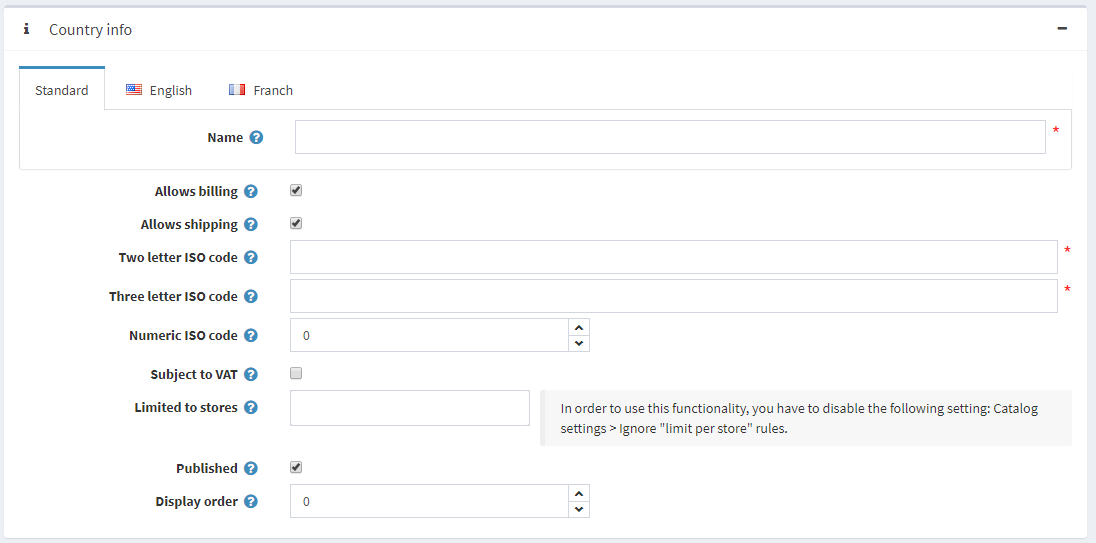
On the country info panel define the following country settings:
- Name of the country.
- Tick the Allows registration checkbox, to enable customers located in this country to register for a store account. By default, all the countries are active. If you need to limit the number of countries from which profile registrations are welcome, deactivate all the countries that you do not want to be included.
- Allows billing to customers located in this country.
- Allows shipping to customers located in this country.
- Enter Two letter ISO code of this country.
- Enter Three letter ISO code of this country.
- Enter Numeric letter ISO code of this country.
- Select the Subject to VAT checkbox, to indicate customers in this country are charged EU VAT (the European Union Value Added Tax).
NOTE
This field is used only when the EU VAT option is enabled on the Tax Settings page (Configuration → Tax → Tax Settings).
- Set store if vendor is limited to sore
- Tick the Published checkbox, to enable this country to be visible for new account registrations and for the creation of shipping and billing addresses.
- Enter the Display order of this country. A value of 1 represents the top of the list.
- Click Save.
Adding new states and provinces
On the State and Provinces panel, you can add states and provinces of the country.
TIP
By default, the states of USA are added
Click the Add new record button to add a new state or province.
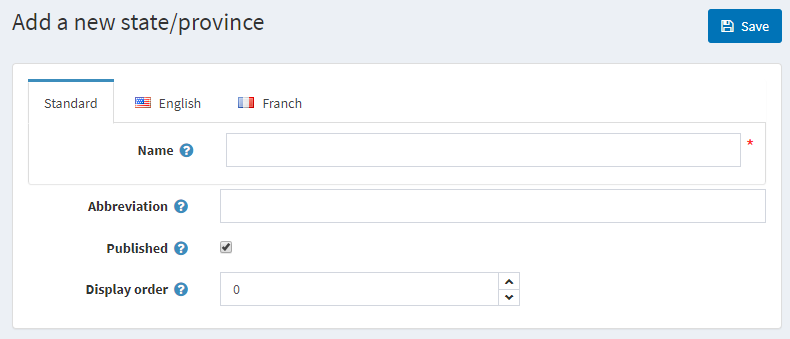
Define the following state/province details:
- Name of a state or a province
- Abbreviation for the province or state
- Tick the Published checkbox, to publish the state or province on the website.
In the Display order field, enter the display order of this province or state. A value of 1 represents the top of the list
To tie a certain store to a country in the Limited to stores field of the Country Info panel select pre-created stores from a list, as follows:

NOTE
This list is used only when you have several stores configured.
Click Save